Ever since I learned how to resizing a t-shirt I’ve been putting the skill to good use. It seems like t-shirts multiply in my closet, sprouting up like weeds among my other garments. I’m a sucker for concert t-shirts especially. If I attend a show with five + bands I love, you bet I’ll shell out $45 for the commemorative t-shirt with all of their names on the back of it – knowing full well that it only cost them something silly like $5 to produce it. Oh well, those prized yet boxy shirts bring back all of the butterflies of a great event, and they get a lot more play than the sub-par photos I captured with my phone.
Resizing allows me the luxury of turning whatever over-sized shirt I want into a flattering and feminine shape that I can enjoy wearing out of the house. There have been a number of times when guy friends have complimented my shirt and asked if there were men’s sizes, and if my guy friends can spot the difference I’m confident that the trouble is worth it.
Materials you will need:
Over-sized t-shirt
A t-shirt that you like the fit of that has a similar stretch to the one you’re going to resize
Matching thread
A sewing machine with a zig-zag stitch or a serger
Fabric shears
Iron and ironing board
I like to start with a shirt that is two or more sizes too big for me. If your shirt is only one size too big this will still work but you may have a few extra seams in the armpit area where the sleeves had been attached to the body of the shirt in the first place.
Lay your over-sized shirt flat on your cutting surface and match the shirt you plan to copy over the top of it, matching the shoulders and collar.
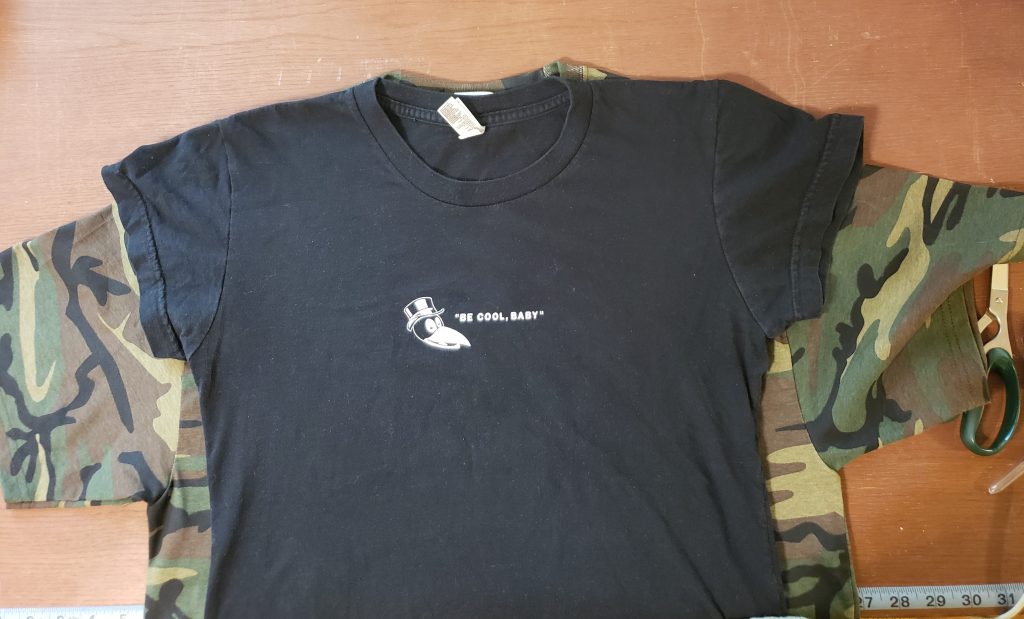
Carefully moving the sleeve out of the way as you go, measure a half inch seam allowance around the sleeve seam and side seams of your shirt and an inch seam allowance on the bottom hem of just one half of your t-shirt. Move your fitted shirt out of the way and cut along your markings on the one side.
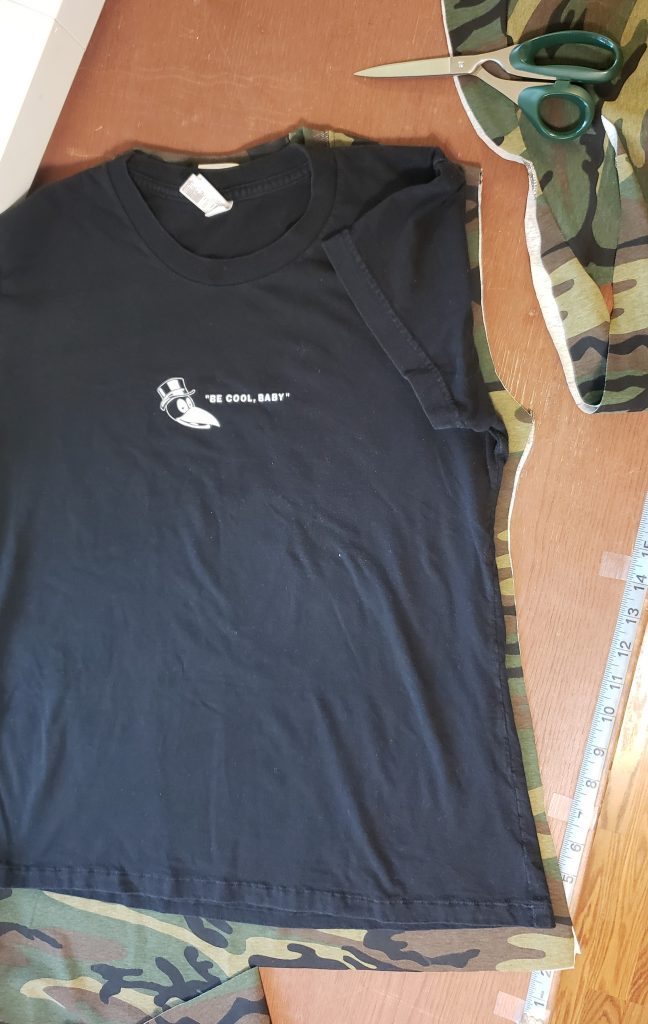
Fold the cut side on top of the uncut side of the t-shirt, making sure that the fold is centered on your shirt. Cut the second half of your shirt along the edges you just cut on the first half. (I like doing this method because I have greater confidence that my finished shirt will be symmetrical. Sometimes the shirt that is being copied has become slightly misshapen in the wash, and I don’t want that to translate onto my new shirt.)
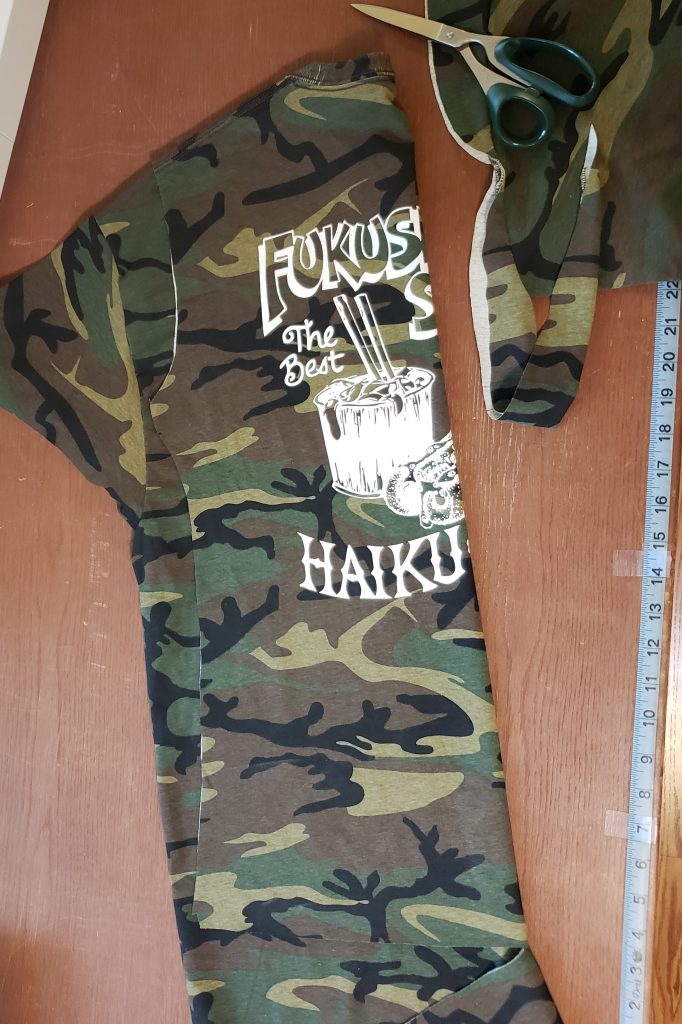
Next, cut the excess scrap fabric away from the sleeves along the shoulder seam and lay them flat on your cutting surface. In order to trace the shape of the sleeve, you need to match the longer folded edge of the sleeve (that runs along the top of your arm) and the hem with the sleeve of your fitted shirt. Measure a half inch around the sleeve shape for seam allowance and cut. Using the first sleeve you cut out as a guide, cut the second sleeve.
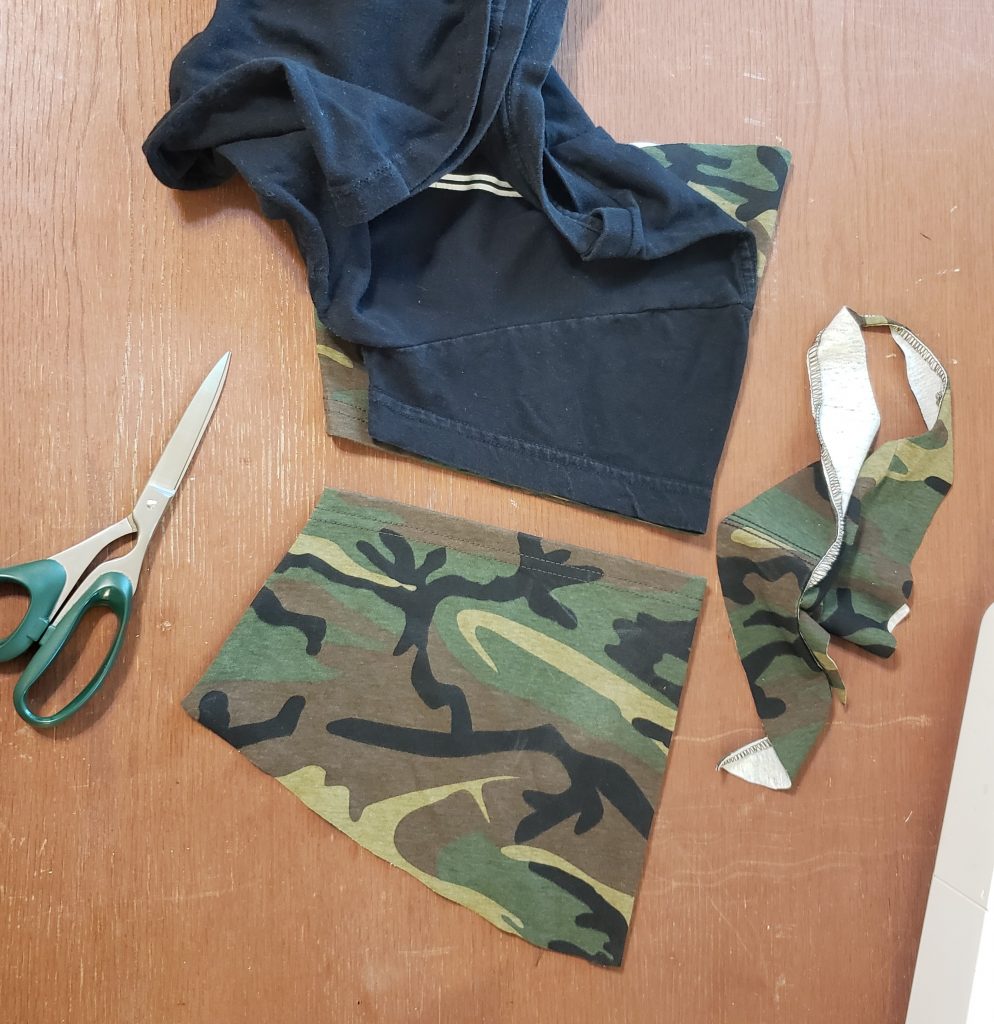
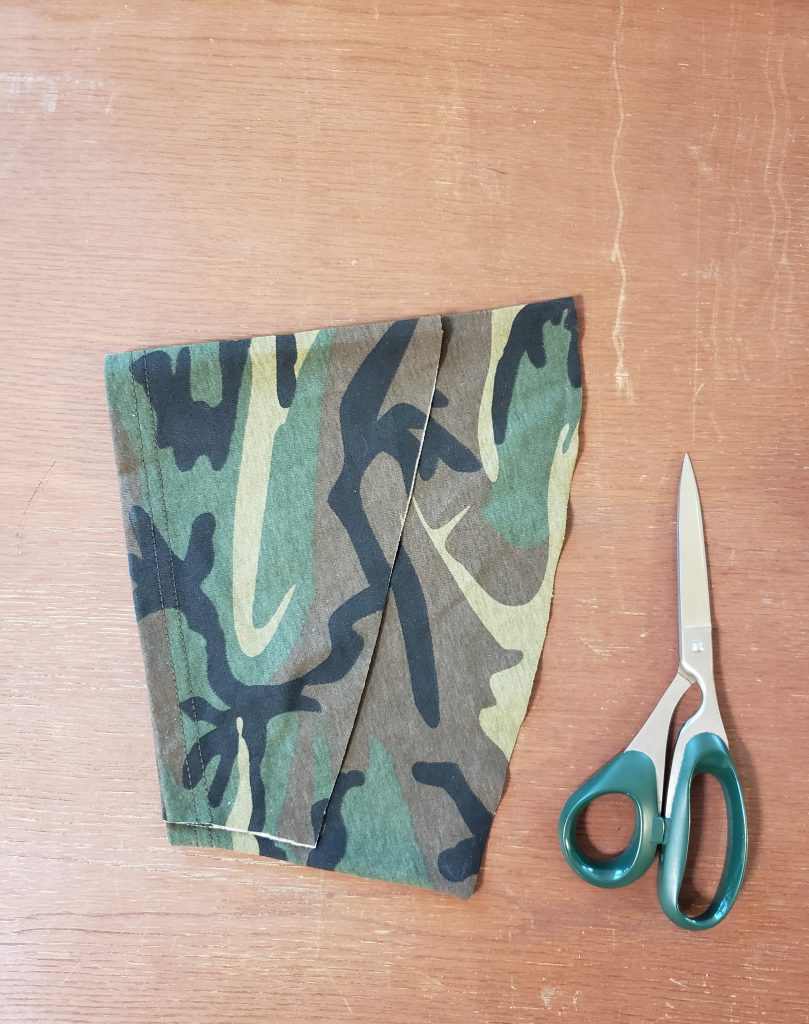
Turn the body and the sleeves inside out and pin along the short raw edges of the sleeves and along the sides of the shirt body (but not the arm holes). Using a zigzag stitch and a half inch seam allowance, sew along the pinned edges.
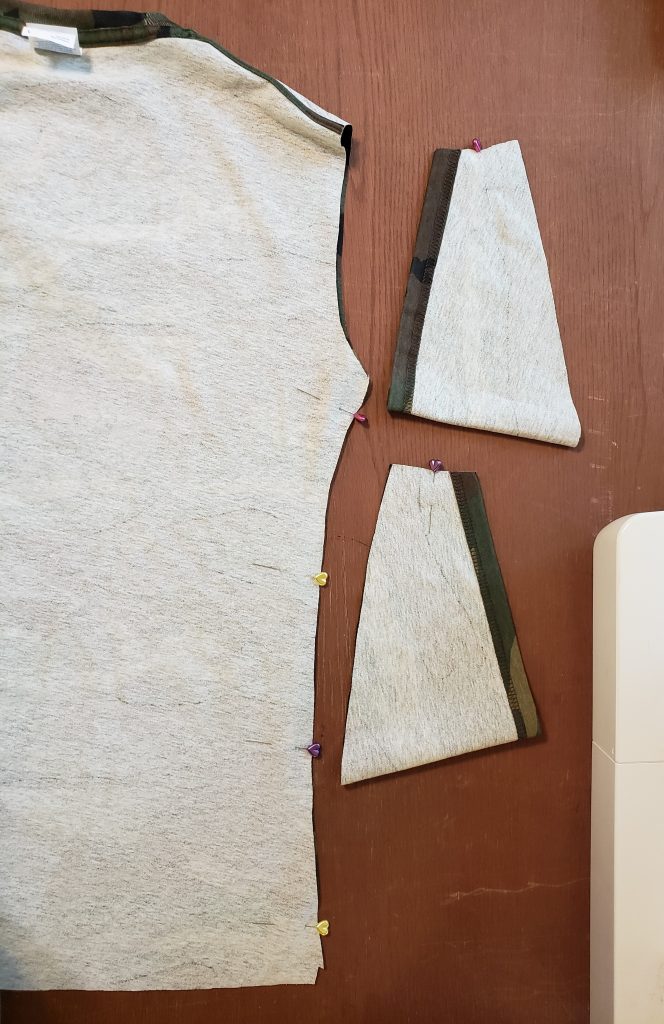
Press the new seams towards the back of your garment.
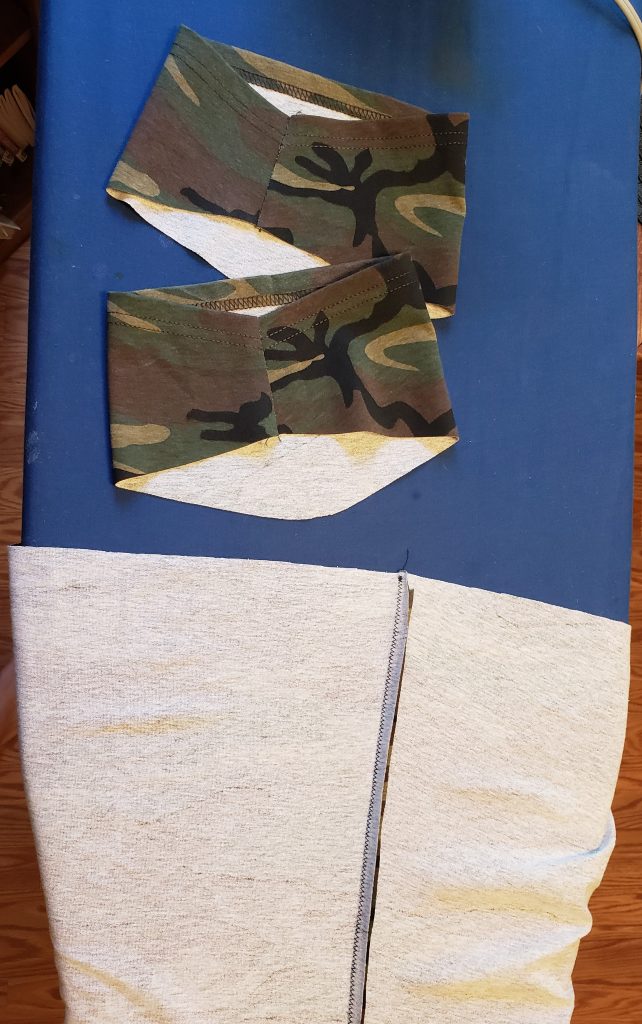
Turn the sleeves right side out. I used pins to mark the seam and the top of the sleeve to make it easier to line up the sleeve with the arm hole.
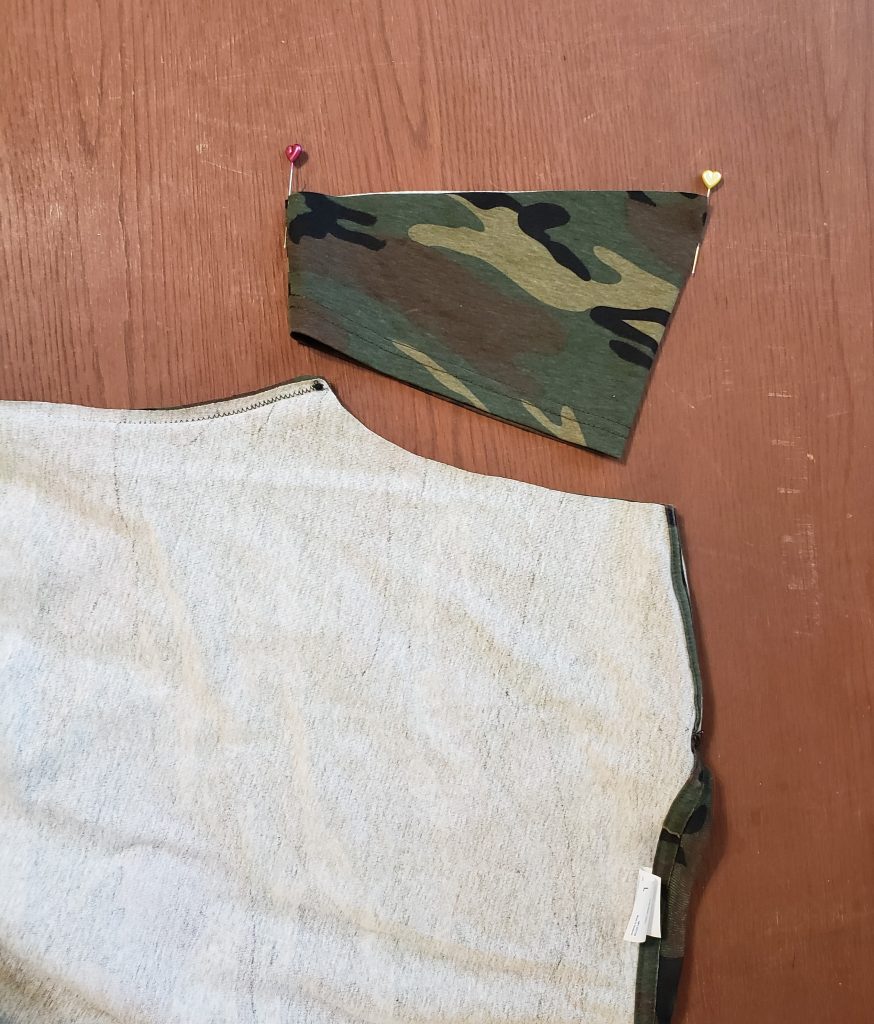
Insert the sleeve into the arm hole and pin it into place, right sides together, being sure to match the top of the sleeve with the shoulder seam and match the two seams in the armpit.
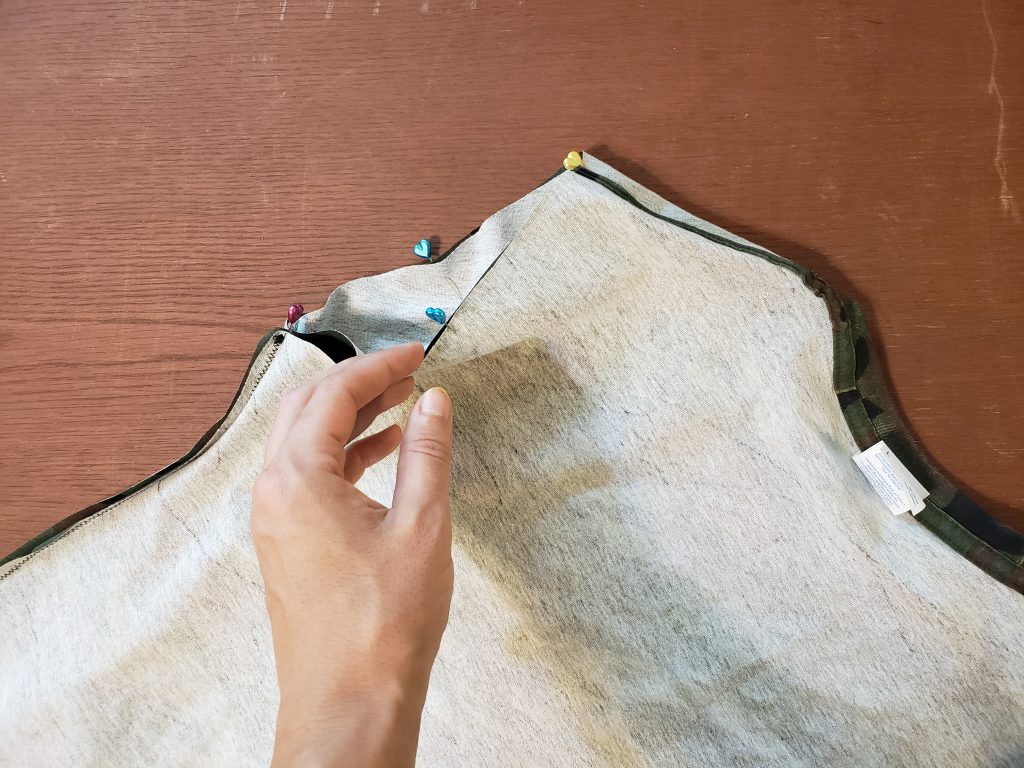
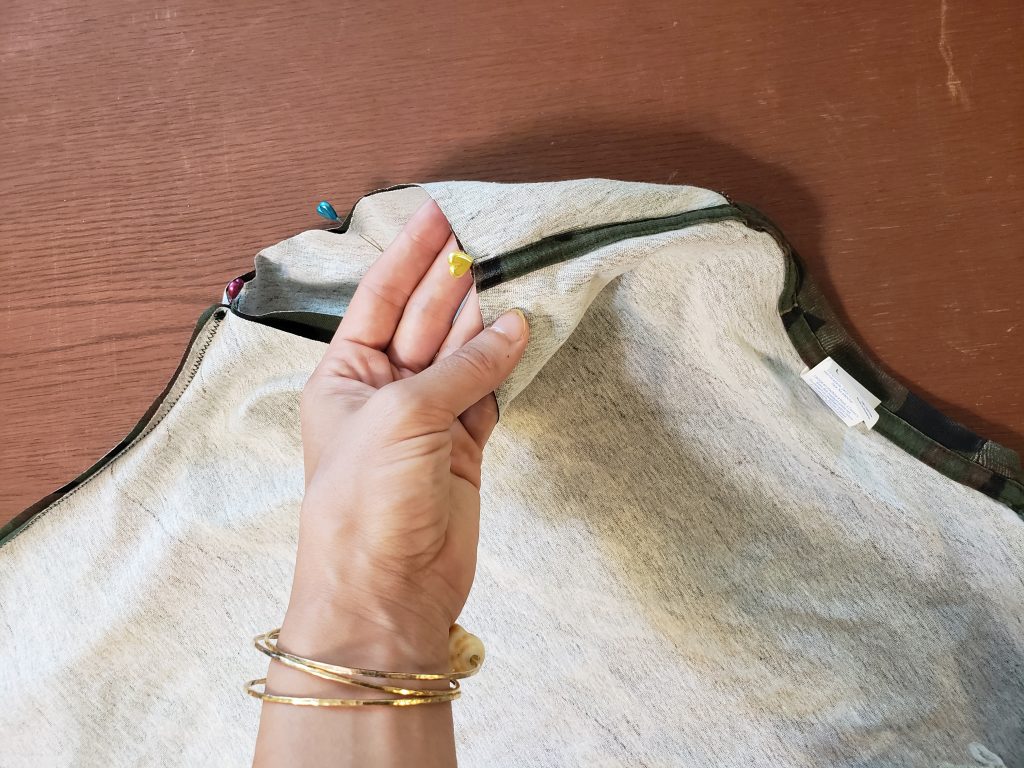
Using a zigzag stitch and a half inch seam allowance, stitch along the arm hole. Press the seams towards the sleeves.
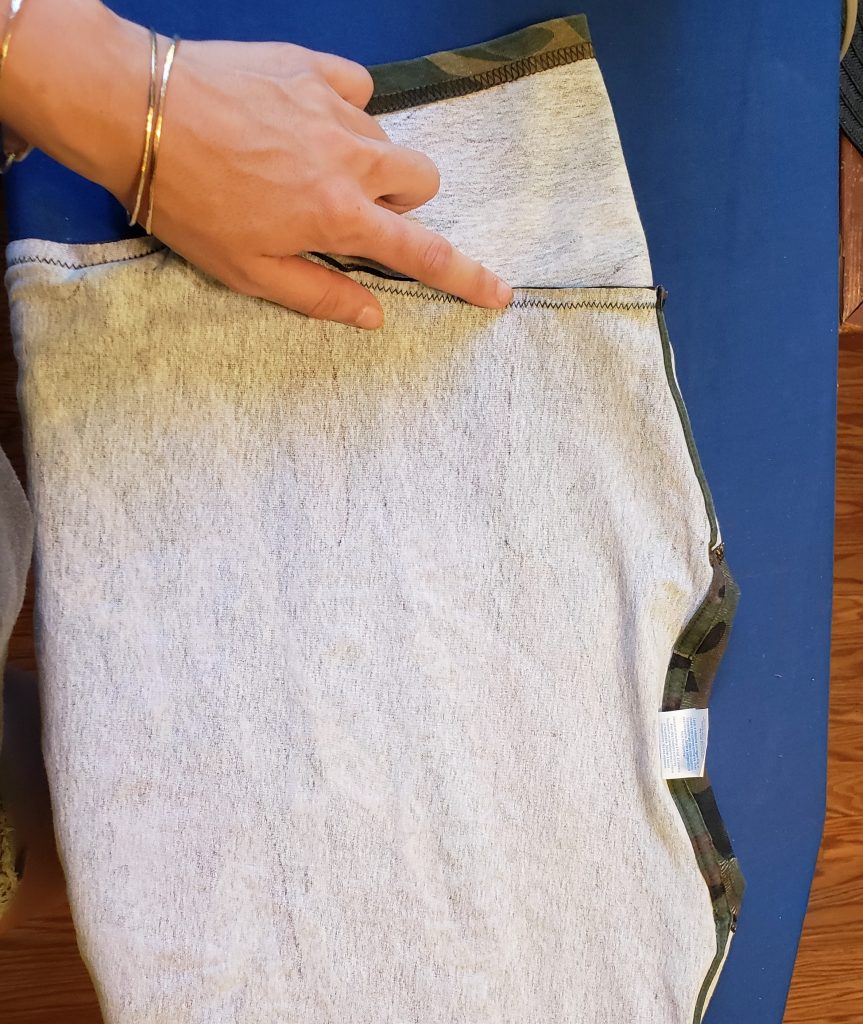
To make the hem of your shirt, fold a half inch up from the bottom of the shirt and press all the way around. Then fold another half inch up, so now the raw edge of your fabric is hidden. Use a zigzag stitch to finish the hem being careful not to pull the fabric as you sew to avoid a wavy hem.
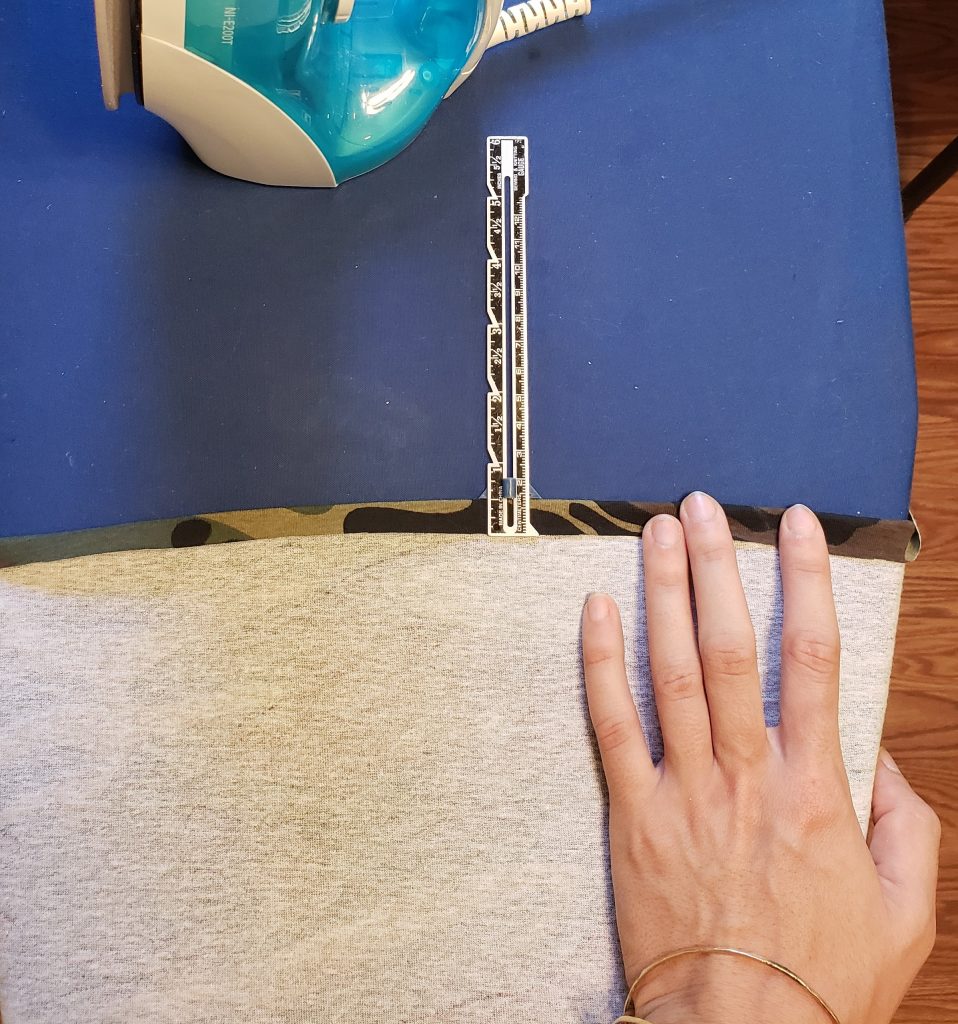
Press the hem again for good measure and you’re done!
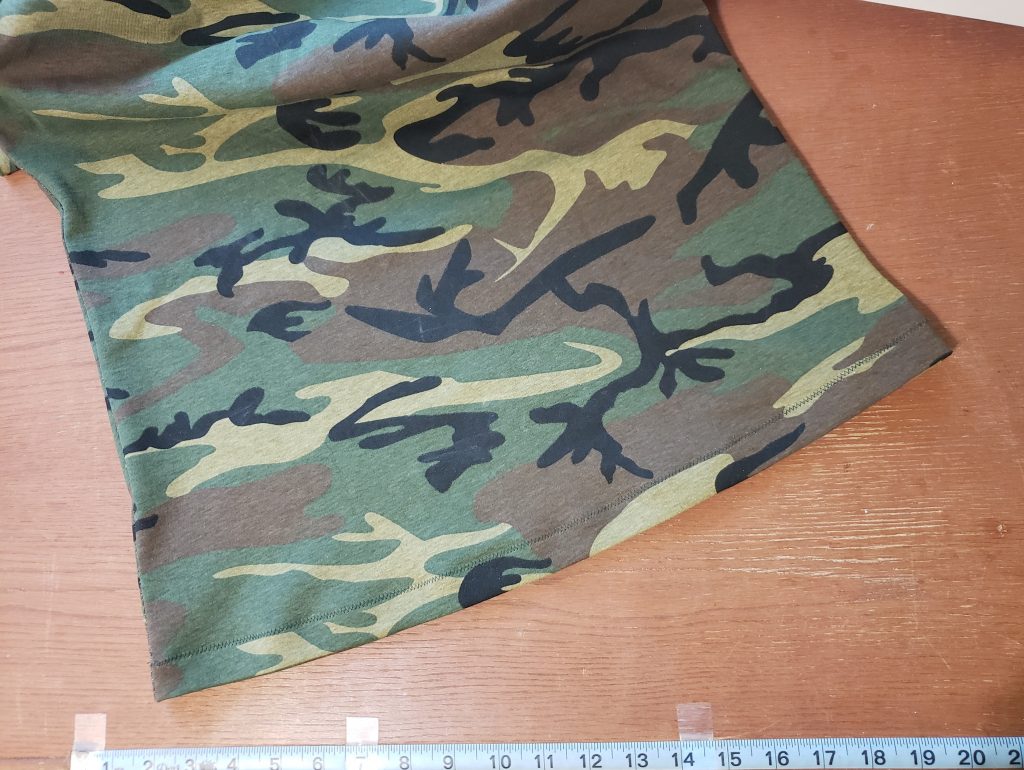
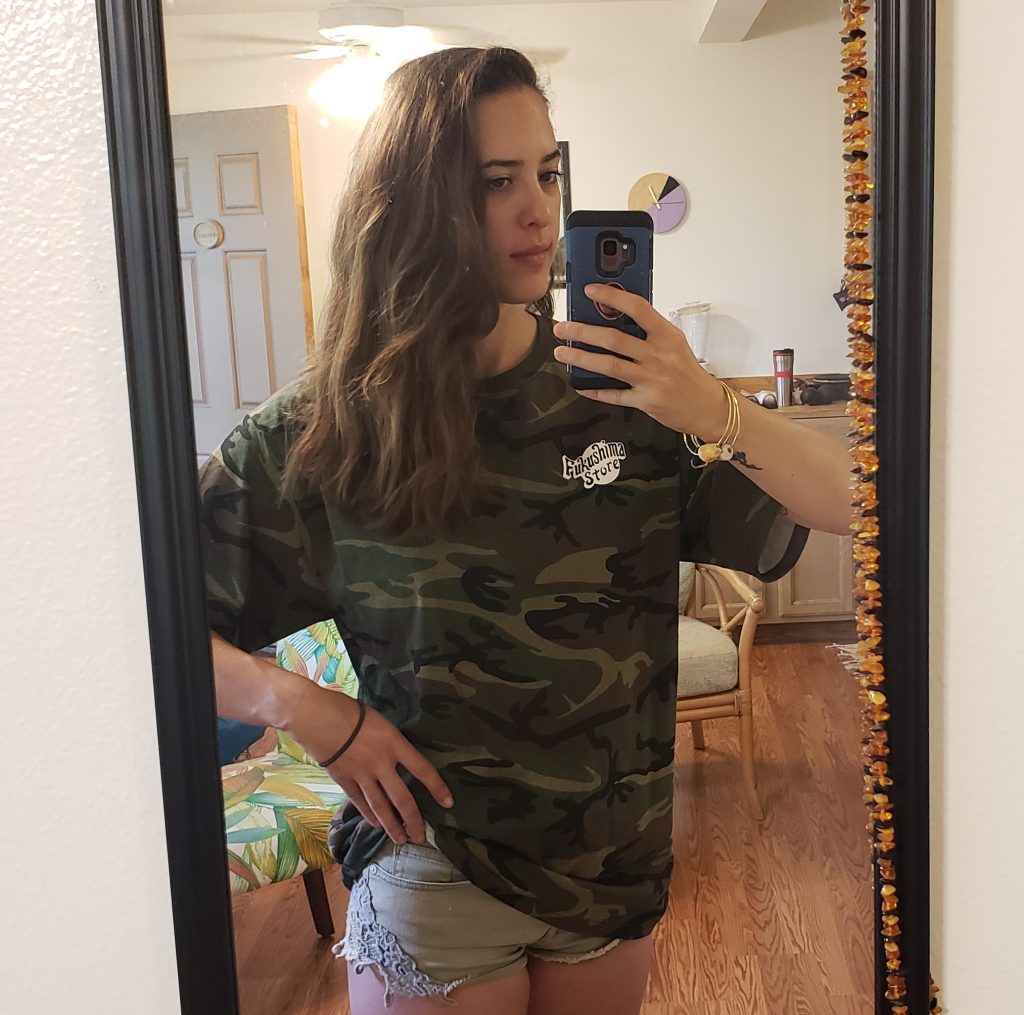
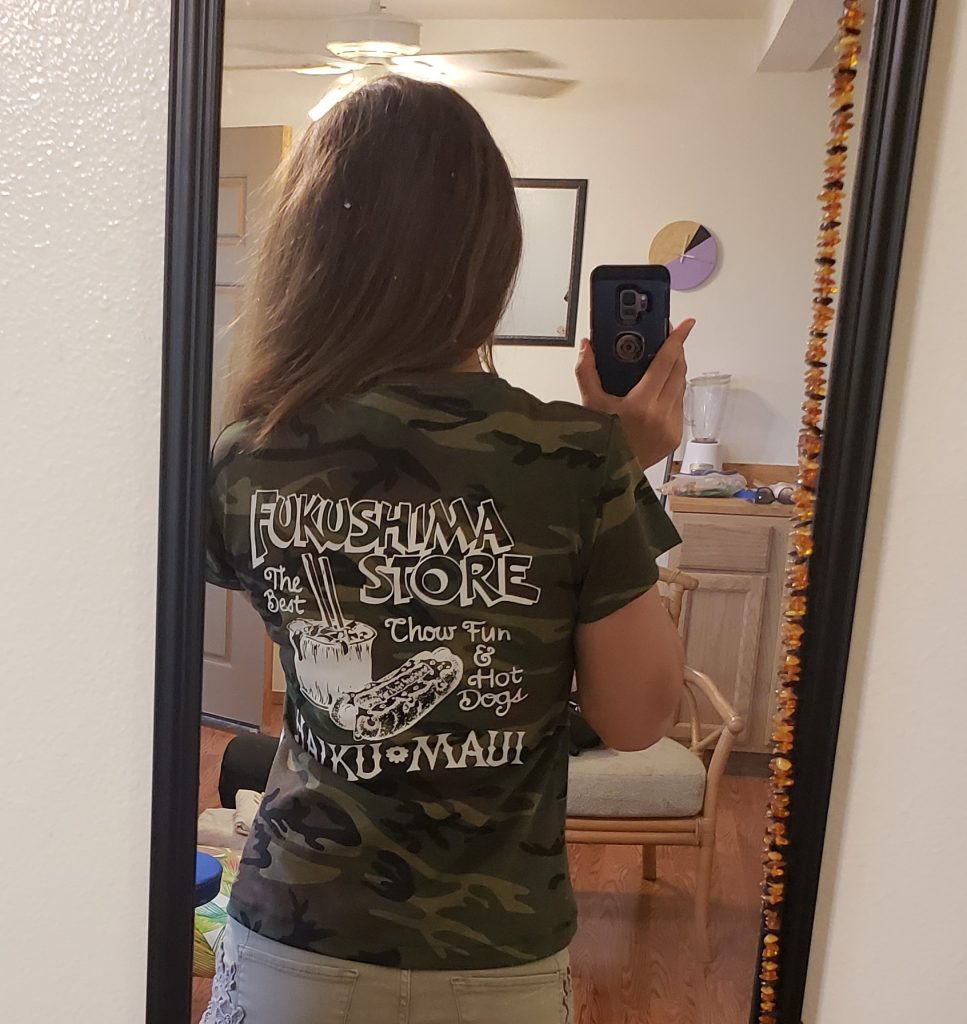
So much better! Now that I’m not swimming in it anymore this men’s XXL is a rotating part of my work wardrobe. I don’t seek out shirts like this very often, but the chow fun and hot dog graphic on the back was too silly and cute to resist.
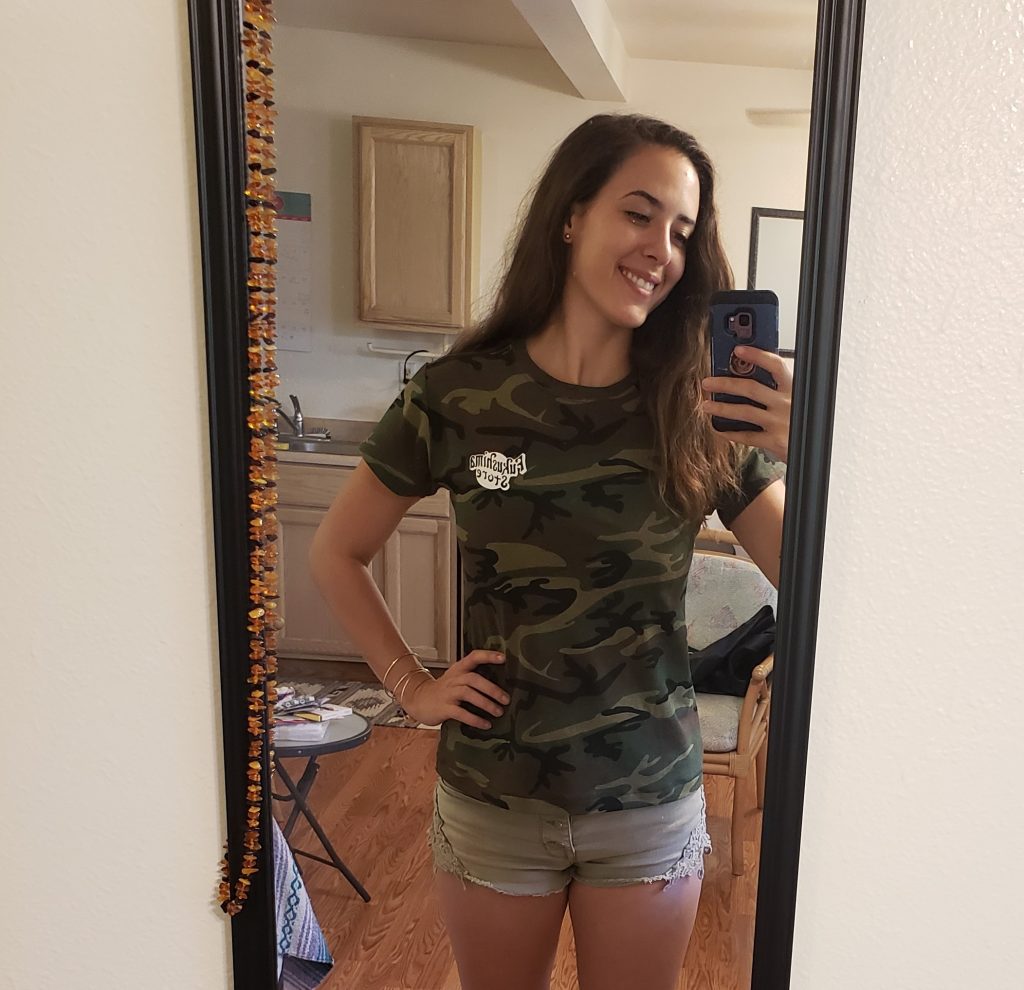
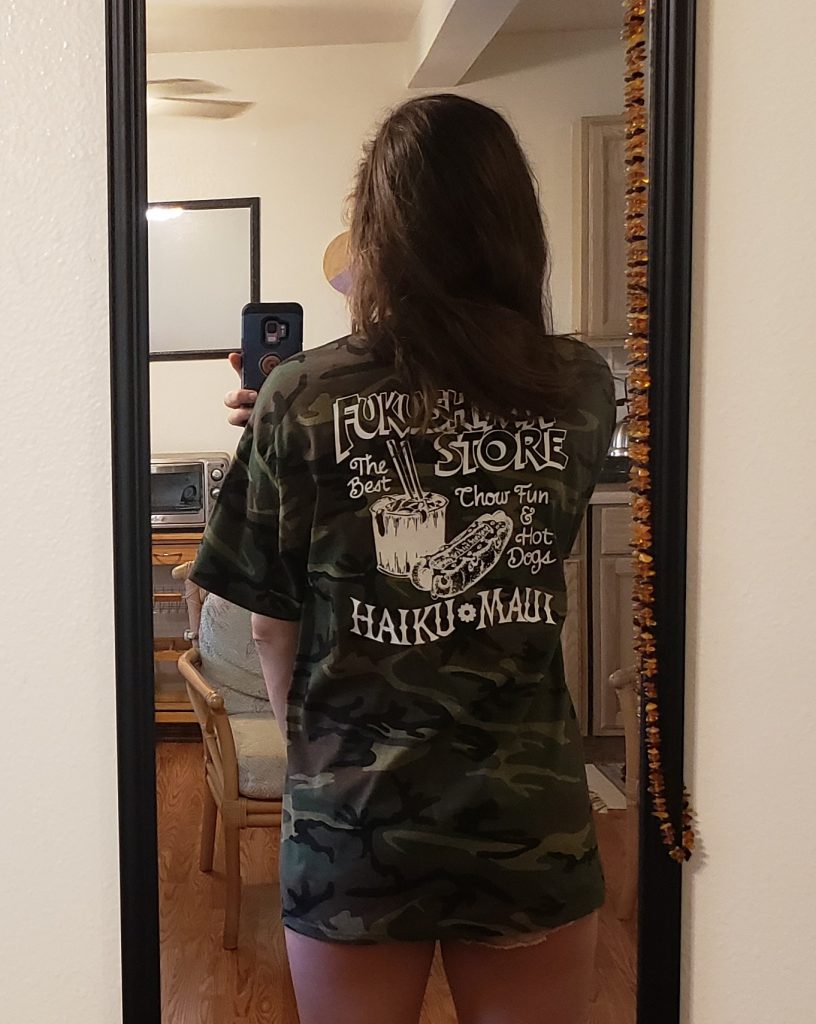
I hope you found this tutorial helpful! Please let me know in the comments if there’s anything I can clear up for you. If you do this project I’d love to see pictures or hear how it turned out!

Leave a Reply